NESRGB (Tim Worthington)
The reference video mod for the NES / Famicom: a small FPGA board that sits on the PPU and synthesises a clean RGB / component output, where the NES natively outputs only composite (or even RF alone).
| Field | Value |
|---|---|
| Systems | NES (NTSC/PAL), Famicom, AV Famicom, Twin Famicom, clones |
| Type | FPGA board interposed on the PPU (RP2C02/RP2C07) |
| Added outputs | improved RGB (csync), YPbPr component, S-Video, composite |
| Level | 🟠 fine soldering (PPU removal + socket) |
| Reversible | ✅ if the PPU was socketed (put on a socket) |
What it's for
The NES has no RGB: its PPU directly generates a composite NTSC/PAL signal, hence blur, dot-crawl and often jailbars (vertical bars) depending on the board. The NESRGB regenerates the image digitally from the PPU data and re-synthesises clean RGB — with selectable palettes as a bonus (the NES's colour rendering was always "to the manufacturer's taste").
Technical principle
- The PPU is desoldered and put on a socket.
- The NESRGB board slots in between the socket and the PPU: it spies on the PPU bus (pixel data, sync).
- An FPGA rebuilds the image and drives video DACs → RGB + component + S-Video + composite, all clean and synchronised.
- The csync is available for SCART (see RGB & SCART).
Compatibility & variants
- NTSC and PAL board versions (the PPU timing differs).
- NES-001 models (US toploader = NES-101, Famicom, AV Famicom): kits and ribbons adapted per chassis.
- Palette switch: button/JP to toggle between several palette renderings (including a much-loved "FirebrandX"-like one).
The PPU must be cleanly socketed
This is the critical step: desoldering a 40-pin PPU without lifting a pad needs a hot-air station or good braid/pump desoldering. A quality turned-pin socket avoids bad contacts.
Installation (summary)
- Open the console, remove the motherboard.
- Desolder the PPU, fit a 40-pin socket.
- Plug in the NESRGB, put the PPU back on top.
- Wire the AV multi-out (often a Mega Drive / DIN type connector) on the front or in place of the original output.
- Power the board (5 V from the motherboard) and test each output.
Many installers also offer a clean AV faceplate (Multi Out).
Before / after
| Criterion | Original NES (composite) | With NESRGB (RGB) |
|---|---|---|
| Sharpness | blurry, dot-crawl | sharp, crisp pixels |
| Jailbars | common depending on board | removed (regenerated image) |
| Colours | fixed palette, sometimes washed | selectable palettes, saturated |
| Outputs | composite / RF | RGB + component + S-Video + composite |
Where to buy
- Manufacturer: Tim Worthington (NESRGB creator) — http://etim.net.au/
- Pre-assembled kits and installers listed on RetroRGB: https://www.retrorgb.com/nesrgb.html
Alternatives
- Hi-Def NES / analogue-style HDMI (internal HDMI kit, pricier, direct digital output) — see also Nintendo NES.
- Simple composite/AV mod on RF-only NES units: much worse, but trivial.
Sources & attribution
- Tim Worthington — NESRGB product page — http://etim.net.au/
-
RetroRGB — NESRGB dossier (variants, installation) — https://www.retrorgb.com/nesrgb.html Image:
-
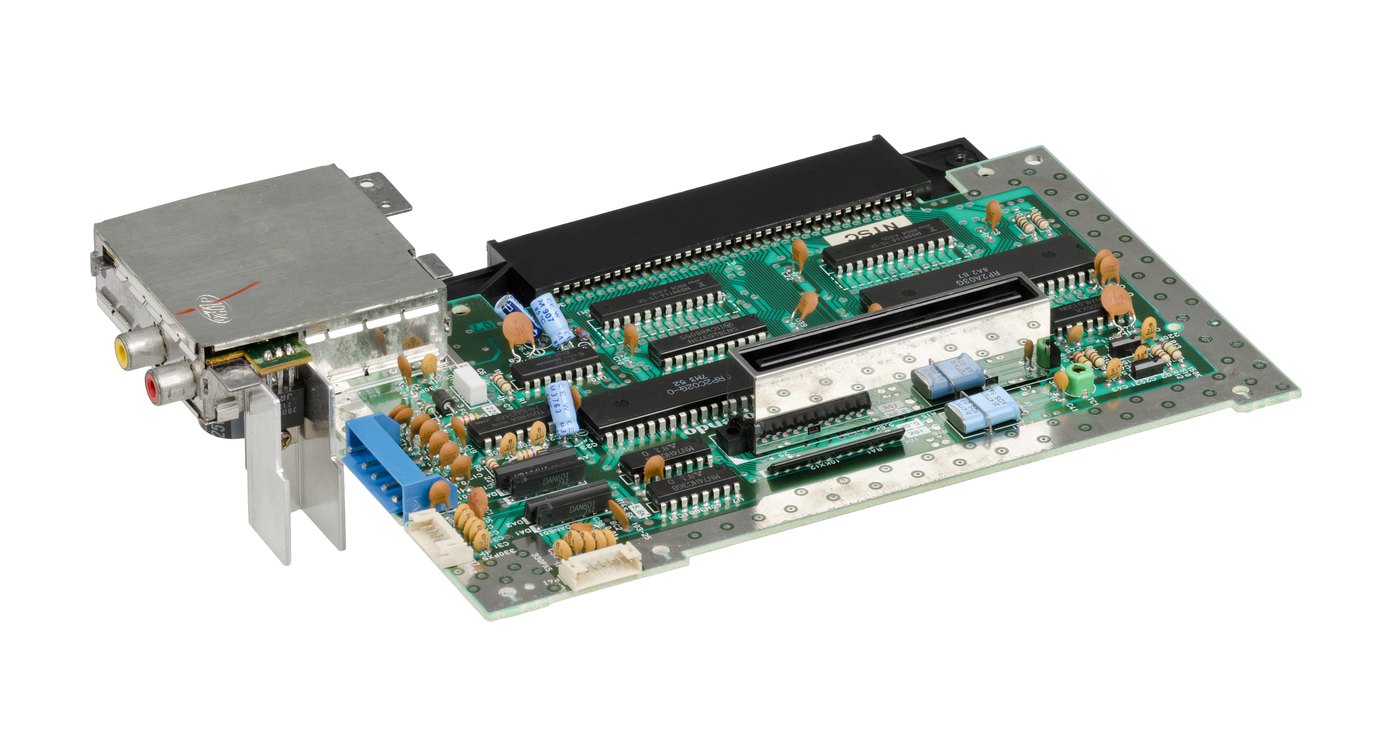
nes-carte-mere.jpg— Evan-Amos, public domain, Wikimedia Commons — https://commons.wikimedia.org/wiki/File:Nintendo-Entertainment-System-NES-Motherboard-FR.jpg

Review & corrections
How this space is used
Spotted a wrong value, an outdated procedure, a chip reference that does not match your board? Say so here, with what you observed (model, board revision, serial number, measurement). Every report is cross-checked against a source before anything changes — an unverifiable correction is published as “reported by …, not cross-checked” rather than silently applied.
Reading is open to everyone; posting requires signing in with Discord. Reports from the wiki's declared reviewers are handled first; anyone else's are read too, but go through a human before anything is changed.