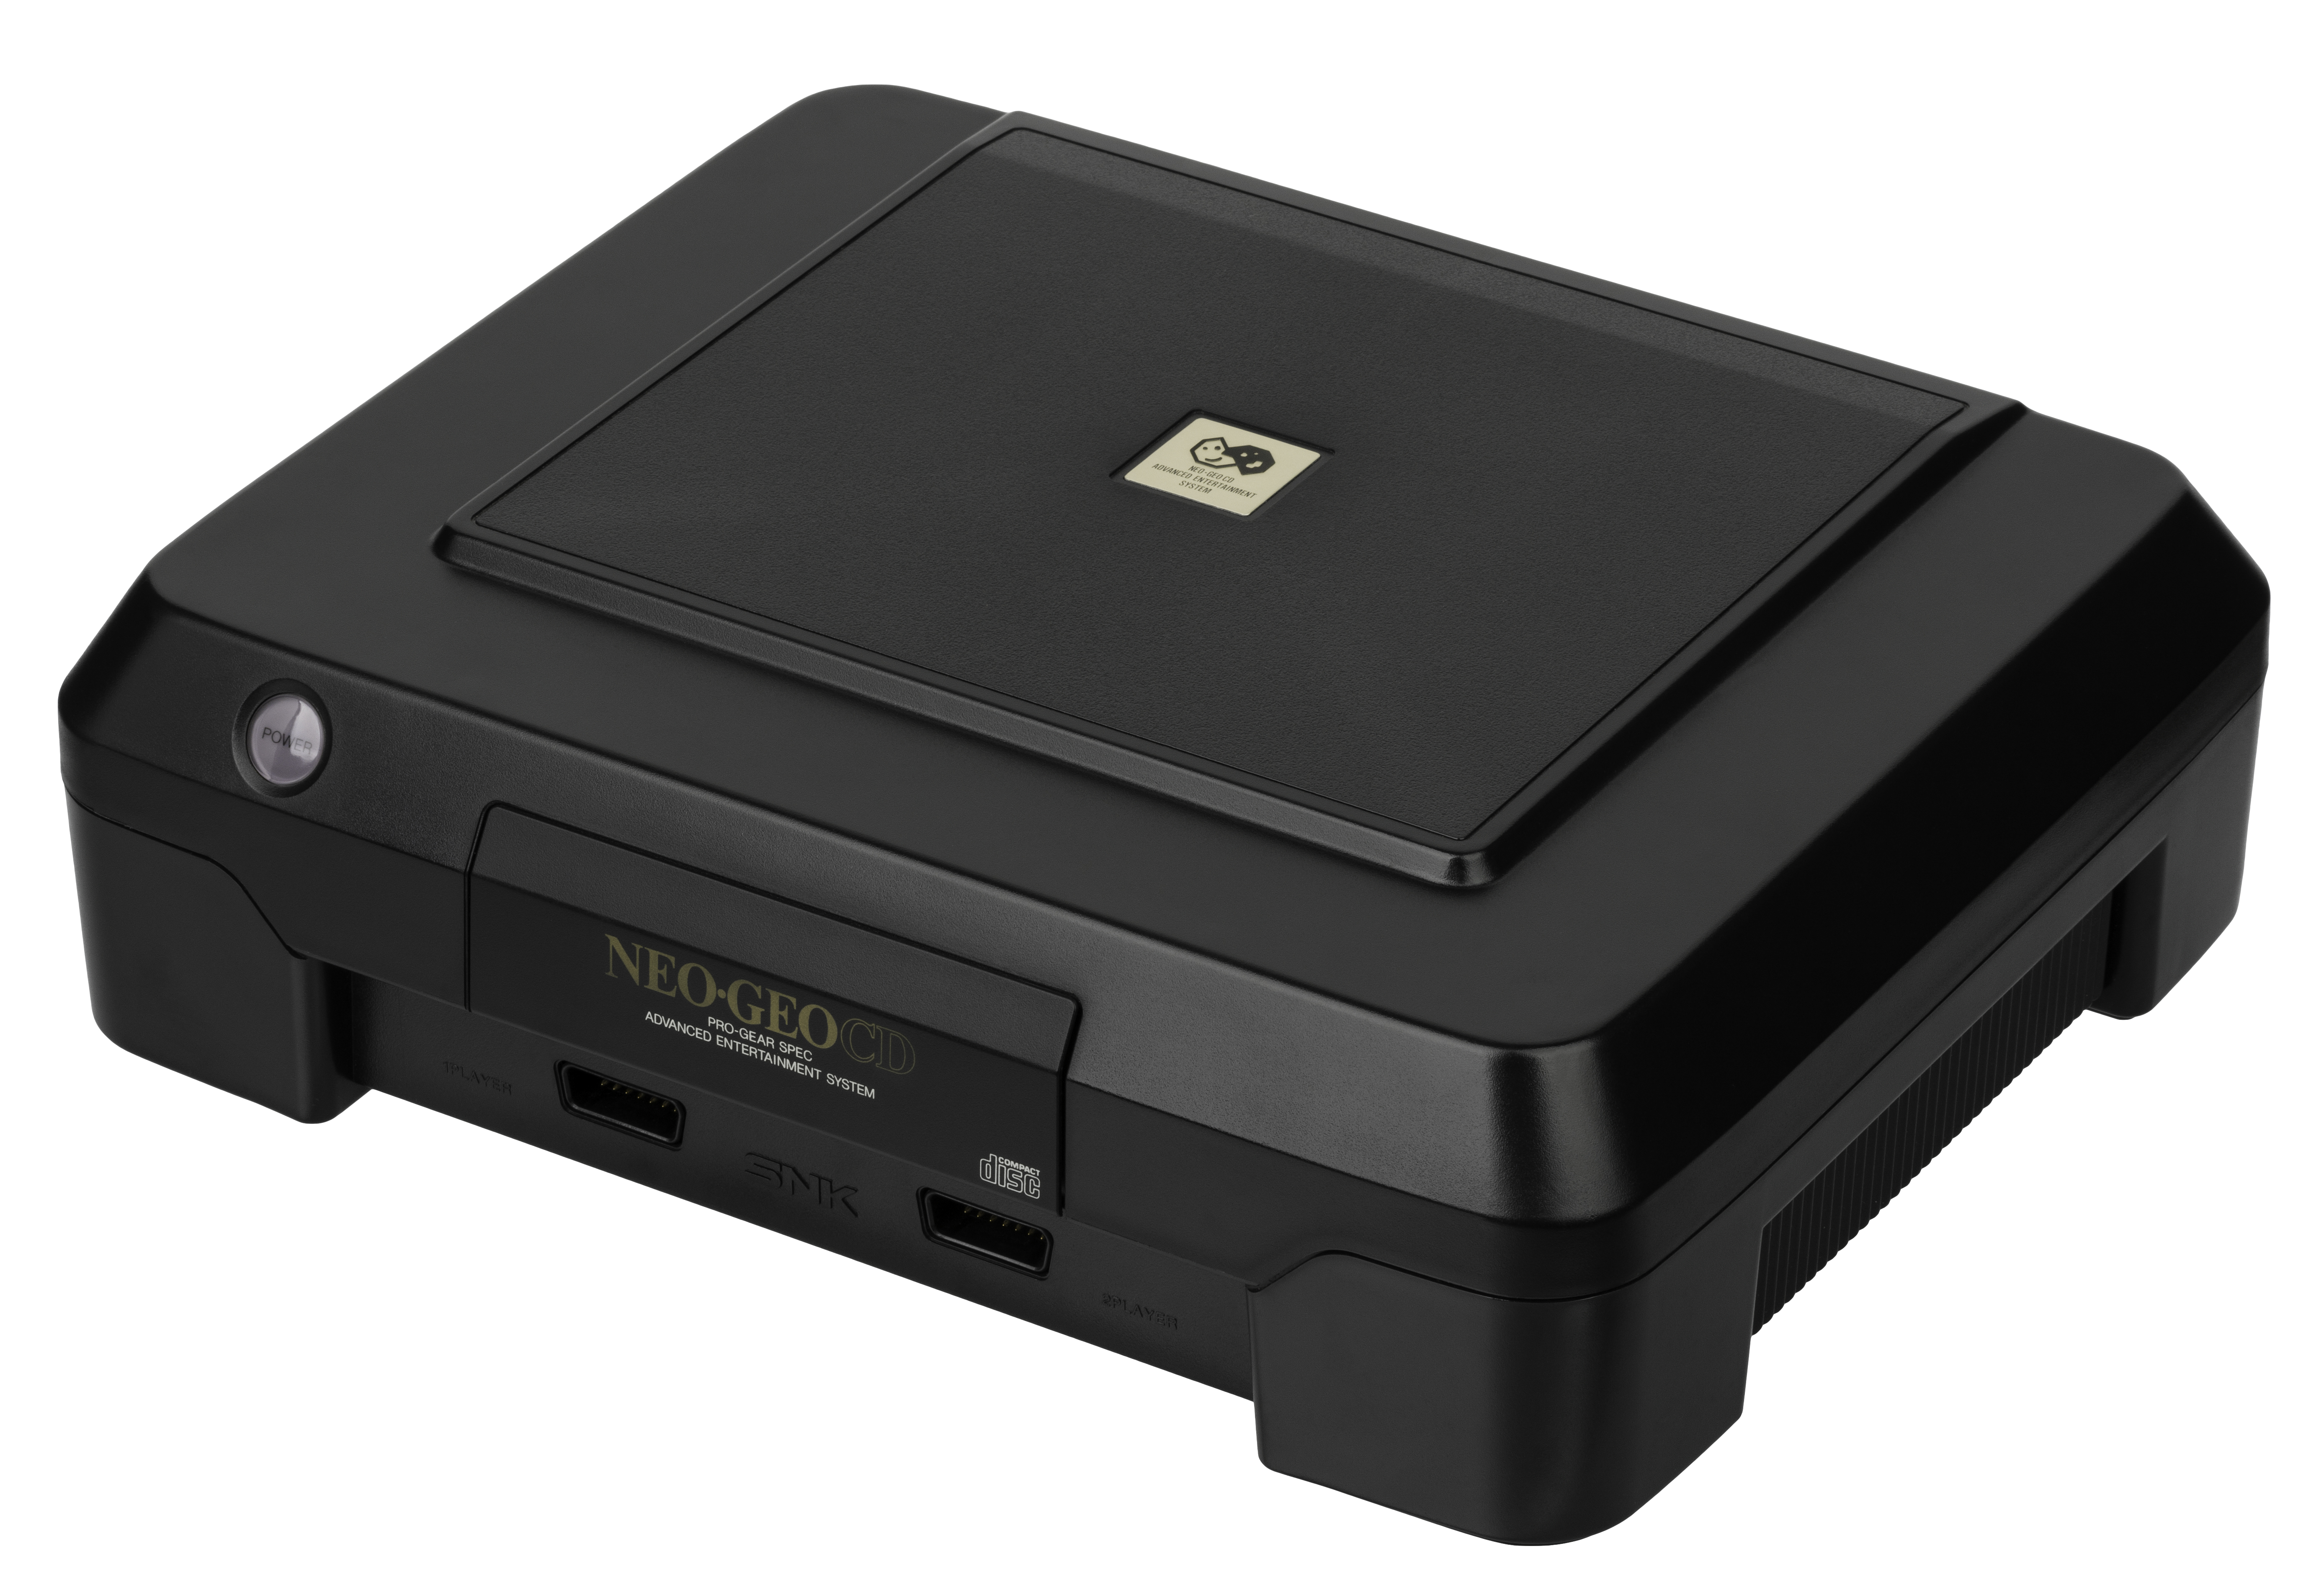
SNK Neo Geo CD
The CD-ROM version of the Neo Geo (1994). Same hardware as the AES but with games at ~$50 instead of ~$300 on cartridge. The catch: a single-speed drive with legendary loading times, partly fixed by the CDZ model (double-speed).
Identification
| Field | Value |
|---|---|
| Manufacturer | SNK |
| Release | 1994 (JP), 1994 (EU), 1996 (US) |
| Generation | 4th (Neo Geo, 2D) |
| Models | Front-loader (JP) · Top-loader (worldwide) · CDZ (JP, faster) |
| Media | CD-ROM |
Architecture
The Neo Geo CD uses the same architecture as the AES/MVS: the CD merely replaces the cartridge with a cheap medium. Data is loaded into RAM before play (hence the loading times).
| Block | Chip | Clock | Role |
|---|---|---|---|
| CPU | Motorola 68000 | 12 MHz | same core as the AES |
| Sound (CPU) | Zilog Z80 | 4 MHz | drives the sound |
| Sound (chip) | Yamaha YM2610 | ADPCM + FM (identical to the arcade) | |
| Memory | 7 MB RAM total | 2 MB program + 4 MB graphics + 1 MB sound + fix/VRAM | |
| Media | CD-ROM drive | single-speed (double-speed on CDZ) |
The 7 MB of RAM matches the capacity of a large MVS cartridge: the game is copied entirely into memory, which avoids in-game loading… but forces long loads between stages/rounds.
Models & loading
- Front-loader (1994, Japan, ~25,000 units): motorised front loading.
- Top-loader (worldwide distribution): top loading, the most common.
- CDZ (late 1995, Japan): double-speed drive — much shorter loads, the model to favour for actual play.
- Loading times: roughly 30–60 s depending on the game on single-speed models — the machine's main criticism.
Region & saves
- No hard region lock, but the console is "region aware": some games' language follows the BIOS territory setting (Japan/US/Europe).
- Saves: internal backup memory + a memory card slot compatible with the Neo Geo ecosystem (AES/MVS).
Controllers & games
- Controller: Neo Geo CD pad (D-pad + buttons), in the spirit of the AES stick.
- Library: SNK's hits (Metal Slug, The King of Fighters, Samurai Shodown, Fatal Fury, Garou…) made affordable — the selling point against the prohibitive price of AES cartridges.
Common faults
| Symptom | Likely cause | Lead |
|---|---|---|
| Won't read CDs / random reads | Worn laser / optical block | Adjust/replace, or ODE (image it first) |
| Loading/tray dead | Belt / mechanism | Replace belt, clean the rail |
| Degraded sound/video, corrosion | Capacitors (electrolytics) | Targeted recap |
| Lost saves | Flat backup battery | Replace the battery |
| No image | Power, contacts | Base diagnosis |
Procedure — a dead console, step by step ✅
What this adds
Ordered for a console, not for an arcade board: what kills these is almost never the CPU. It is, in real order, the power supply, the capacitors, the drive or the cartridge slot, and only then the logic. → PCB diagnosis
1. The power supply. Two cases, depending on the machine. External brick: ⚠️ read the marking on the machine, next to the socket, and check the adapter against it — voltage and polarity. A centre-negative machine fed centre-positive loses its fuse, sometimes its regulator; do not trust a third-party label or a generic tip. Internal supply (the machine plugs straight into the wall): mains is inside the shell. Unplug, wait, and confirm the large capacitors are discharged before touching the board. Either way, measure under load: a failing supply holds its voltage until it is asked for current.
2. The fuse. Many of these machines have one right behind the socket — it is the part designed to die. Test it in continuity, out of circuit. A fuse that blows again is a short, not a fuse problem.
3. Capacitors. On most machines of this age this is the default suspect rather than a last resort — leaking SMD electrolytics eat the tracks underneath before they give any other sign. ⚠️ Not all of them are like that: some carry very few and are not recapped on principle. Read what this page says about it before reaching for the iron. → Recap
4. The drive. On this machine it is the dominant failure point. In order: does the tray move, does the disc spin, is the lens clean (cotton bud, isopropyl alcohol, no pressure), do the rails slide freely. A laser that no longer reads gets replaced; the gain pot is not something to tweak blind — that is the move that finishes off a laser that was still good.
5. Video output. Isolate the machine from the display: another cable, another TV, another input. A sizeable share of "dead consoles" are a dead cable, or a display that will not lock onto what this machine outputs — see the video section of this page for what that is.
6. Still nothing. Now, and only now, the logic: rails on the board, reset, clock, bus. → PCB diagnosis
Preservation & emulation
- ODE / CD imaging: image the discs while they still read; ODE to escape the ageing laser.
- Emulation: mature Neo Geo cores (MAME, FinalBurn Neo) that faithfully reproduce the YM2610 and the 68000.
Video output: the missing composite sync ✅
All Neo Geo CD consoles ship WITHOUT composite sync (CSYNC) on the AV out port
This is a quirk of the machine, not a fault. In practice it is generally not a problem: modern equipment — HD Retrovision cables, the RetroTINK line of scalers — accept composite video as sync without real issue. (Source: ConsoleMods, CC-BY-SA.)
The documented "CSYNC mod" DOES NOT WORK — know this before reaching for the iron
ConsoleMods documents a CSYNC restoration procedure while explicitly stating that it does not work:
- CRTs are unable to sync to the resulting image;
- modern upscalers do not work with it either;
- even LM1881 boards cannot strip the sync correctly from the composite video.
The reasons have not been investigated to date. We keep the procedure below as documentary preservation, not as a recommendation.
✅ What does work, on the other hand: the "Sync on Luma" mod.
Documented CSYNC procedure (non-functional — archived for the record)
⚠️ This mod requires cutting several traces and should only be attempted at one's own risk — all the more so as it does not succeed.
Tools: Phillips screwdriver, soldering iron, leaded solder, wire, wire cutters and stripper, multimeter, razor blade / X-Acto knife.
Important technical point: sync is pulled directly from the CXA1645P video encoder, which is TTL sync. Running it through an Extron or another device capable of accepting TTL sync is fine, but ⚠️ never connect direct TTL sync to equipment such as an RGB monitor. Adding a 680 ohm resistor to the device or cable lowers the sync voltage to an acceptable level. It is also possible to use luma from the S-Video connector as the sync source instead of the encoder's TTL sync.
- Disassemble the console. With the top cover removed, unscrew the circuit board carrying the output connectors and flip it over — the wires do not need to be removed.
- Locate the multi-out connector. The composite video pin is wired directly to the composite sync pin and then to the composite video output. Use a multimeter to verify that the three pins concerned are indeed connected.
- With a razor blade, cut the traces before and after the composite sync pin of the DIN jack. Verify with a multimeter that there is no longer continuity between the composite sync pin and those traces.
- Add two wires: the first returns the composite video line from the CXA1645 to the composite video pin of the multi-out (and hence also to the actual composite video output connector, since they remain linked); the second connects pin 10 (sync input) of the encoder to pin 7 on the multi-out.
- Test, then reassemble.
Mods & repair — what to buy, how
Loading times: the Achilles' heel
The front-loader / top-loader read at 1× → very long loads (the CD RAM is small and reloaded often). The CDZ reads at 2× and loads much faster — prefer a CDZ for playing, or move to an ODE.
- ODE (drive emulator) 🟡: a community ODE replaces the laser/belt block and loads from SD → removes the mechanical failure and sharply cuts loading times. Installs via the drive connector/flex. → ODE mods.
- Laser / belt service 🟡: if keeping the stock drive — replace the belt (it dries out, tray/loading fails), clean the lens and adjust laser gain; image the discs first.
- Targeted recap: aging power/audio electrolytics (degraded sound/video, corrosion).
- Region: the lock lives in the BIOS → region-free BIOS (reprogrammed chip) removes it on socketed-BIOS models.
- Backup battery: check/replace (internal memory) → backup batteries.
Photos / assets
(To add: Neo Geo CD top-loader, CDZ, laser block, board.)
Advanced repair
Optical drive (belt/laser = a notorious weak point, slow drives) + recap. Methods: ODE (optical drive) · Recap · PCB fault-finding.
Archived technical documentation ✅
Manufacturer documentation archived locally: schematics, block diagrams, expected voltages, parts lists. The reference when a symptom matches no known fault.
- Neo Geo CD — PDF
Status
Manufacturer documents kept for preservation (machines out of production for decades), with no explicit licence — the same position as for the cabinet manuals already archived here.
Sources & attribution
- ConsoleMods Wiki — Neo Geo CD CSYNC Mod — CC-BY-SA — no composite sync from the factory on any Neo Geo CD, the source's own warning that the CSYNC mod does not work (CRTs, upscalers and LM1881 all fail), the Sync on Luma mod does work, CXA1645P TTL sync and the 680 ohm resistor — https://consolemods.org/wiki/Neo_Geo:Neo_Geo_CD_CSYNC_Mod
What we did not transcribe (and why)
On the Neo Geo CD side, the ConsoleMods pages Power Supply Fuse (Neo Geo CD) and Adjusting CD Laser are empty to this day (red links): our laser adjustment and belt sections therefore rest on our existing sources, with nothing invented.
- Wikipedia — Neo Geo CD (specs, dates, models) — CC-BY-SA — https://en.wikipedia.org/wiki/Neo_Geo_CD
Image:
-
neogeo-cd.jpg— Evan-Amos, public domain — https://commons.wikimedia.org/wiki/File:Neo-Geo-CD-FL-FL.jpg

Review & corrections
How this space is used
Spotted a wrong value, an outdated procedure, a chip reference that does not match your board? Say so here, with what you observed (model, board revision, serial number, measurement). Every report is cross-checked against a source before anything changes — an unverifiable correction is published as “reported by …, not cross-checked” rather than silently applied.
Reading is open to everyone; posting requires signing in with Discord. Reports from the wiki's declared reviewers are handled first; anyone else's are read too, but go through a human before anything is changed.